
I don't know about you but with as much as I love bread... I cannot image spending up to $8.00 on a single loaf at a specialty store. By definition, Artisan Bread is simply a handcrafted bread made without artificial flavors or preservatives. Realistically - any homemade bread should be artisan bread, right? But I go a step further with my opinion of Artisan Bread by focusing on the "handcrafted" part of the textbook definition. Typically any bread takes a few hours worth of rising and baking. But there is a recipe that I use that can stand up against any fancy, schmancy bread at any specialty market and I make it in my own home for a fraction of the cost. I'd love to share it with all of you today. It's a wonderful frugal side dish to a weekday meal and upscale enough to bring with you to impress anyone at a potluck or dinner party!
First and foremost, this recipe is incredibly simple but takes a lot of time. That's where the whole "handcrafted" part comes in. You can taste the time and care into making a single loaf. Though a lot of the ingredients are the same, this loaf does not taste the same as typical sandwich bread.
Start by putting 6 cups of all-purpose flour, 2.5 tsp salt, 3 tbsp sugar and 1/2 tsp of active dry yeast in a very large bowl. Stir together to integrate the dry ingredients. Then add 2 and 3/4 cups cold tap water. Now it's time to get messy. I love to use my hands to mix it all. It seems to blend it all together much faster than using any sort of spoon. This dough does not need to be kneaded so after you mix the dough (it should still be sticky but manageable) all you need to do is spray the sides of the bowl with cooking spray and spray a piece of cling wrap to lay over the top of the bowl. Put in a safe place to let rise for the next 12-18 hours - I like to put it in the oven (turned off!) to keep it out of the way!

I personally let mine rise for about 15 hours. I'll mix it up about 9pm and won't look at it again until about noon the following day. You'll know the first rise has completed when the dough has tripled in size and smells yeasty and has lots of tiny bubbles. After the first rise time, grab some more flour and dust your counter top and your hands. Don't punch the dough down but simply remove it from the bowl and fold it over itself 2 or 3 times on the counter top. Lay out a clean cotton towel and sprinkle towel with flour. Shape the dough into a ball and tuck any seams underneath the ball. Place the dough ball on the flour dusted towel. Sprinkle flour over the top of the dough and lay another clean cotton towel over the top of the dough ball. Let rise undisturbed for another 2 hours.

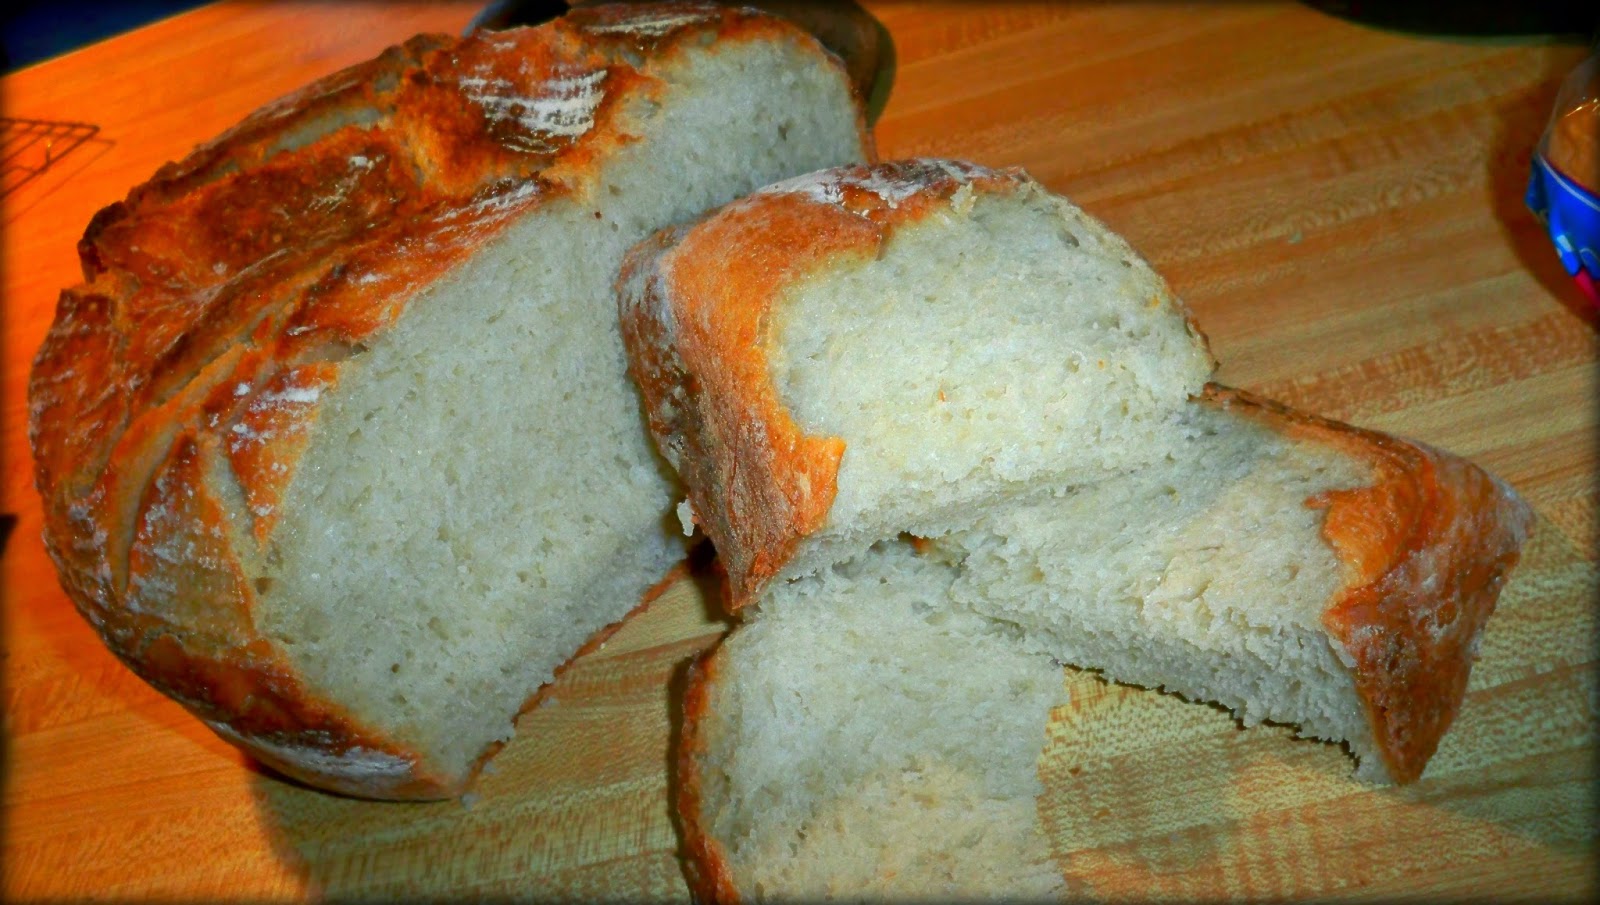
In the last 20 minutes that the dough is rising, put your dutch oven in the oven and turn up the heat to 425 degrees. After 2 hours the dough should have doubled in size again. Remove the hot dutch oven and very carefully flip the dough ball into the pot - now the seams should be facing upward. Put the lid back on the dutch oven and bake at 425 degrees for about 45 minutes. Then remove the lid and bake another 5-10 minutes or until the top of the bread has a beautiful deep, golden crust. Let cool on a wire rack. Let cool at least 30 minutes before cutting into it. Resist all temptation! The wait is so worth it.
I like to store the leftovers in the same dutch oven it baked in. Storing in bags just seems like a waste!
Ingredients:
6 cups All-Purpose Flour ($.47)
1/2 tsp yeast ($.05)
2.5 tsp salt (penny)
3 tbsp sugar (pennies)
2 and 3/4 tap water (penny)
Approx. $.57 for a loaf of Artisan Bread... beats an $8.00 loaf any day of the week!
No comments:
Post a Comment